Phone Photography #
I, for the longest time, wanted to talk about how to take photos like a professional on this page.
I finally realized that next to nobody cares. The vast, vast majority of people just use their phone, don’t want to lug around a camera, and definitely don’t want to spend $1500 on a camera.
More over, the best camera is the one you have. So, the phone will almost always win, at least for everything except wedding days and planned trips.
So, what does that leave this page to say?
Man, do phone camera’s stock settings suck.
ABSOLUTE FIRST THING YOU DO TURN OFF [Your phone manufacture here’s] SHIT #
Modern Samsung phones, for example, have “Intelligent Optimization” which does something to the photos to make them look like plastic, especially when taken with lots of telescopic zoom. In every picture I tested with, it looks worse.
Even assuming your phone’s similar “image better-ify-ing” tech doesn’t make it look like plastic, do you really want your personal photos to be less than honest, real pictures? Do you want to look back on your memories later and have them be … less than real?
I don’t.
Now that we’re working with a camera, not some AI-Smooth’d nightmare let’s talk about how to get actual, good pictures. You just need to spend an extra couple of seconds in the camera app to go from “meh” to great.
First things first, you’ll need to figure out how to get to “Pro” mode on your camera. Just search the internet for how to do this for your phone.
In this mode, you should see significantly more options. Let’s start with the 2 most important ones:
ISO (Sensitivity/Gain) & Shutter Speed #
Cameras, when they open their shutter, let light in. If you don’t have enough light, you can tell the camera “Fine, you can multiply, in software, the value by some number”.
That number, is the ISO.
This means we can need to balance how much time the shutter is open (more time = more light) and how much we muliply by (ISO).
Let’s say we have the worlds worst camera - a device we could hardly call a camera - with a resolution of 1x1. 1 pixel. That’s it. Worse, let’s assume it’s a black and white camera - so we can get grayscale.
We want to point it at something and capture the ’lightness’ of what we’re looking at. But that color is just reflected light, right?
Let’s say the “true color” of what we’re trying to capture, ranging from 0 (black) to white (1000) is 500. The grayest gray.
If we have our shutter snap really fast, we don’t let as much light hit the camera sensor. At the impractically low, we end up not letting any light in and we just see black - the same as having the lens cap on.
If we leave our shutter open too long, we let too much light enter, and overwhelm the sensor (and, in a real camera, any motion would make it blurry). At the absurd end, we’d get white.
So, you always need to balance how much light you let hit the sensor but remember we can also multiply the value we get with the ISO.
So, we could use a very short shutter time, let less light in, and multiply the value by a bigger number to get the value we want.
For example, we might set the shutter so low that the sensor only get’s 50 of our fictional “lightness units”, but we might multiply the value by 10. That’s still 500, the gray we want.
Alternatively, we might increase the shutter time, but set the ISO lower, say giving us 250 from the sensor and multiplying by 2. Still 500.
Both images are fine, exactly what we wanted.
BUT, remember, we simplified this down to a 1x1 camera and no device is prefect.
Say instead we still have a black and white camera that takes a 3x3 image and we want to get a picture of 3 stripes, one black, one gray, one white. That is, our optimal image looks like this:
0
500
1000
0
500
1000
0
500
1000
In our fictional example here, imagine we know those are the true values those pixels should be. As if we’re testing the camera in a lab.
Now, remember, we’re capturing light. This is an inherently analog process. There’s a sensor here. Capturing photons.
Because of that, the sensor can’t possibly capture a prefect image. To exaggerate the problem I’m about to show, lets say we have a really bad photo sensor, where each value that’s captured can be off by up to 10 of whatever fictional lightness units we’re using here.
Imagine we take a picture with a very fast shutter speed, only capturing 1/10th the light we’d need to get the “true image” increasing the ISO to compensate, we’ll multiply these by 10.
So, first, because of our fast shutter time, the sensor sees this:
7
49
90
0
50
100
3
60
110
Multiplying by 10 (And capping the values to 1000, the highest our camera can repsent)
70
490
900
0
500
1000
30
600
1000
Oof, those value are pretty far off from the 0, 500, 1000 we want them all to be.
Alternatively, imagine we increase the shutter speed, but decrease the ISO. Again, we can still be off by 10, but say, here, we’re leaving the shutter open long enough to capture 5x as much light, so we only need to multiply by 2. (Remember, we can’t go over 1000 or below 0)
7
249
490
0
250
500
3
260
510
ISO (Sensativity/Gain), Shutter speed,
14
498
980
0
500
1000
6
520
1000
Those values are a lot better. For example, the bottom pixel on the gray row is only 520 this time, instead of 600 (remember, we want 500). This is because the error wasn’t being multiplied as much. Depending on the quality of your screen and your vision, you may not even be able to see that those bars aren’t perfectly uniform.
So, always increase the shutter time as long as possible and get the ISO as low as possible, right?
If you’re taking a picture of a totally still scene, you can get your camera perfectly still, etc. Yep.
Unfortunately, keeping the shutter open longer also means if something in the image - or the camera itself - moves, it’ll blur across the image.
This can actually be used to stylistic effect, as you’ll see in long exposure photographs like these:
Gianluca Lombardi/ESO, CC BY 4.0
As you can imagine, this means if you want to get pictures of something moving by rapidly, you want to increase the ISO and lower the shutter speed. Sure, you’ll get more noise in the image, but you won’t have a blurry mess.
Alternatively, use flash or more light sources.
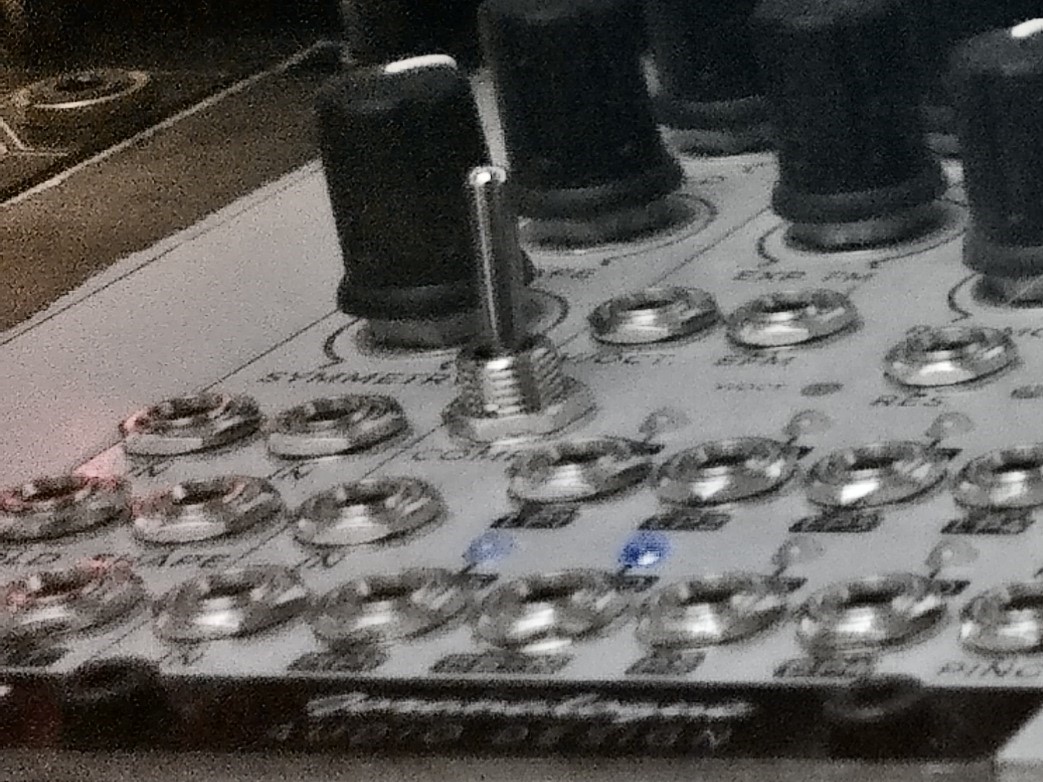
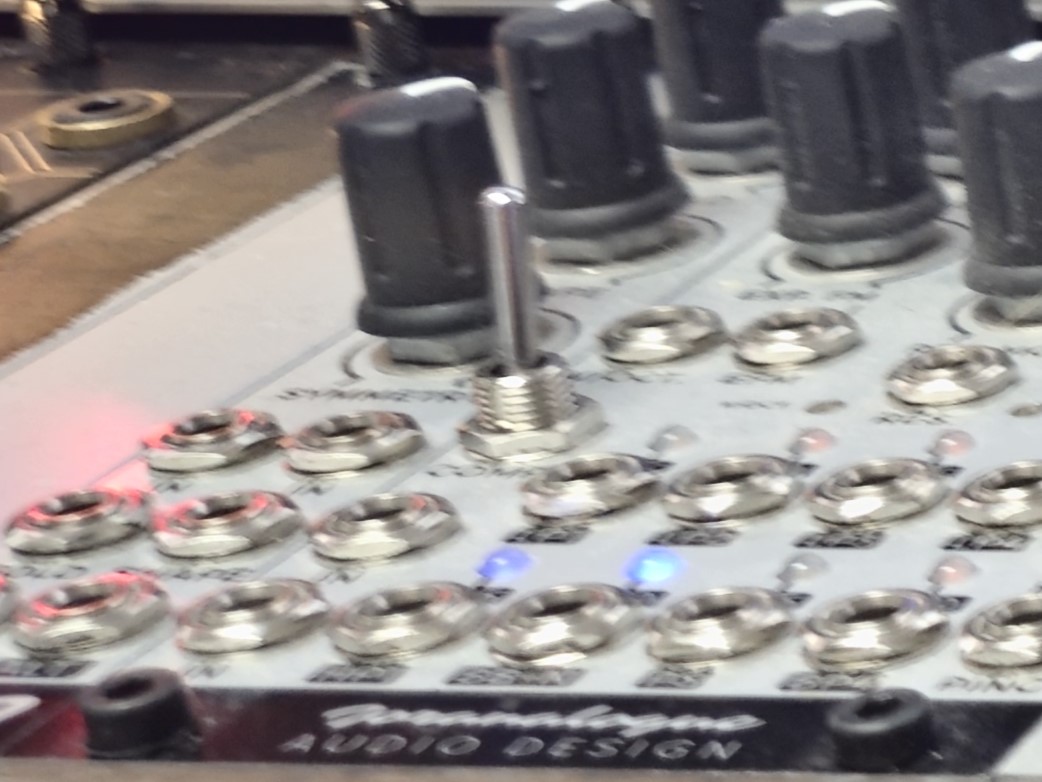
To wrap this up, here are two photo’s I’ve taken for this post,
Note the extra grain in the high ISO image due to the noise issues explained up to this point, but (because I wasn’t perfectly still) the slight blur in the longer exposure photo.
Aperture or “f:stops” & Depth of Field #
Technically, we only taked about 2/3 of what makes up “Exposure”. We covered ISO and shutter speed, but not the Aperture. I think focusing on the science here makes it overly complicated anyway, so, suffice to say by controlling the apature, you can control the depth of field - effectively, how far back do you have to look before things look blurry and out of focus. But, when you do this, you are changing how much light can get to the sensor, so it does play a part in how you select the shutter time and ISO as well.
(Un?)fortunately, this probably isn’t relevant to you for smart-phone photography, because very few phones actually have an aperature that can be controlled.
My old phone, a Samsung S9+, actually was one of these, unfortunately, the sensor on any phone camera is so small that the answer to “What setting should I use” was almost always a more open aperture.
On a professional, dedicated camera it’s a bigger deal.
Don’t get me wrong, I would still like to have it back though. Honestly, I’m a bit miffed that my new phone (S9+ → S24+) lacks the variable aperture, a headphone jack, and heart rate sensor, even though it’s supposed to be 4 models newer of the same tier of device. 🖕Samsung.
The main reason to care is because the aperture will affect the depth of field. This controls both how much appears to be in focus in the background and, importantly, how much 3D-depth near objects seem to have, notably faces
I like how Three Little Wishes Photography explains exposure if you want a different quick overview.
The other stuff you’re likely to care about #
I can’t stress how much shutter and ISO being manually set will make a massive difference to your photos. Master those first.
White Balance #
Do you want the image to look warm or cool. Change this.
Focus #
Set at what depth things are in-focus vs blurry. Setting this manually might let you take pictures of things that are up close better.
Some cameras will let you do automatic focus stacking. In this case, multiple pictures at different focus points are taken and added together to get more in focus than you could with one image.
Resolution #
Using a higher resolution camera will give you more room to crop and otherwise alter the photo, if you wish, after the fact. It’ll also let things in the distance retain detail if you zoom in on them.
On phone cameras, the front-facing camera is usually a much lower resolution.
On phones with multiple rear cameras, the purpose of each camera varies, and you may find yourself trading resolution for a feature of one of the others. For example, on the Samsung S24+ which I have now, the main camera is 50MP, but the ulta-wide camera is 12MP and telescopic camera (For further zoom) is only 10Mp, however, with the telescopic I get a 3x zoom with no quality loss. Depending on the picture, that trade off may be worth it.
HDR #
Some cameras will let you take photos with High Dynamic Range. Basically, this means it can handle there being very dark and very bright places in the picture without the dark stuff being so black it fades away or the bright stuff overwhelming the image to be just pure white.
The “Pro” Stuff #
RAW photos #
Chromatic Aberration #
ND Filter #
This Guy Flipped an Element in an Old Lens and Got ‘Magic’ Bokeh (PetaPixel)
https://www.camerasim.com/original-camerasim
ND Filter? https://r2.community.samsung.com/t5/CamCyclopedia/Digital-ND-Filter/ba-p/15082402


