Analog Art to Digital Art #
Scanning in your Analog Art #
[TODO] Scanner DPI, etc.
Background Removal #
Via vector art tools #
Before doing this, you should know what vector art is and how it differs from the raster art you’re probably used to. I’ve talked about this a bit in the previous chapter, Digital Art . This process requires combining the two, and it’s a bit odd if you haven’t used vector art tools before.

-
Open Inkscape
-
Drop your image in
-
Right-click the image
-
Select Trace Bitmap
-
Try different options (here, I used Single Scan, Autotrace, see picture)
-
Click Apply, a bit map trace will appear over the original image. Select either the trace or original picture and drag it to the side.
-
Select the trace, copy it (Ctrl+C), and paste it into your art software (the following assumes Krita)
-
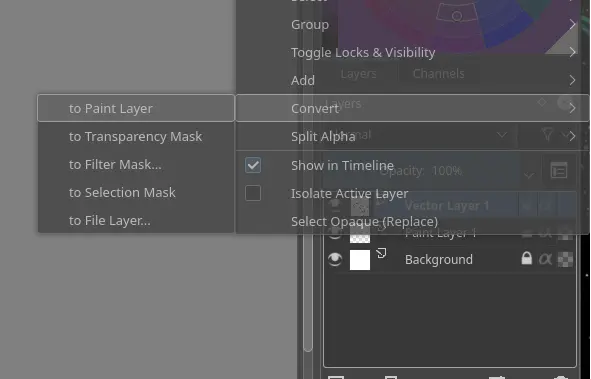
In your art software, the pasted object will be a vector. You probably want it to be normal, editable pixels now, so you need to rasterize it like you would text. In Krita, this you can do this by right-clicking the layer, hovering over convert, then clicking “to paint layer”
-
This will give you a single color paint layer, from here you can work as normal. Depending on the turn out of the tracing process, you might want to fix some lines. This will probably be necessary to fix holes in the outline if you want to use the paint bucket tool.
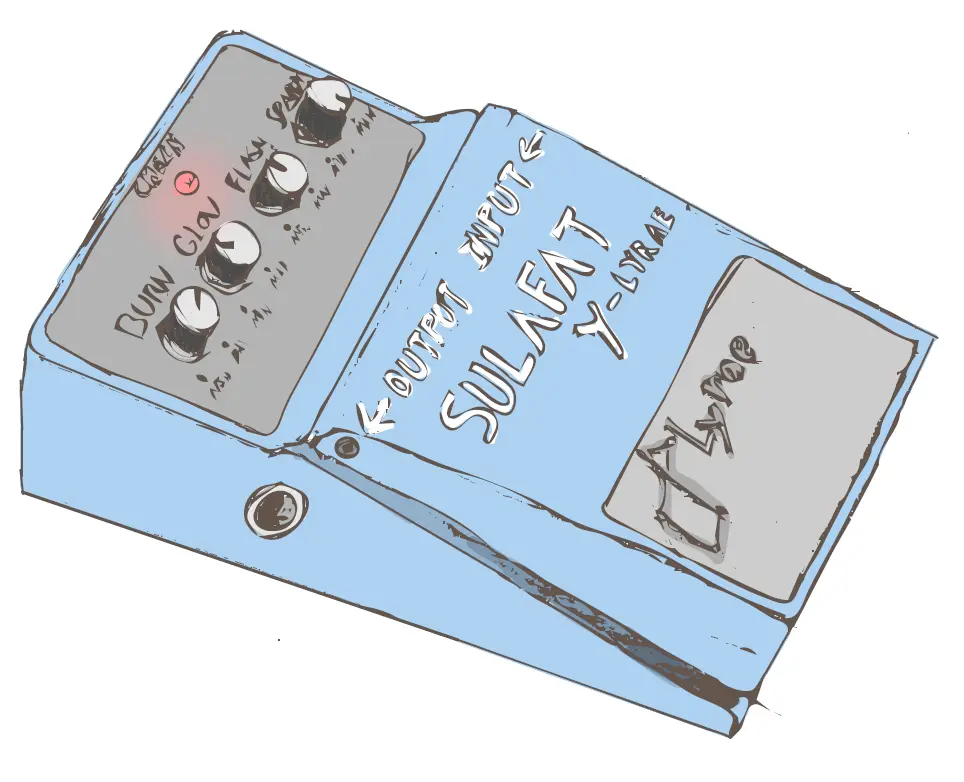
You may want to experiment with the multiple scans → colors option if you want to convert something which used color, but has a limited palette. It can also be a cool effect anyway, as the output is, uh, well, I’ll just show you:
 Original Image
 SVG result after tracing
 SVG with the warm tones removed.
Digital Art to Analog Art #
[TODO]
2D #
Printing & Plotting #
Paper & Inks #
3D #
3D printing vs CNC